
Quick start
The Charmed Distribution of Kubernetes® delivers a ‘pure K8s’ experience, tested across a wide range of clouds and integrated with modern metrics and monitoring. It works across all major public clouds and private infrastructure, enabling your teams to operate Kubernetes clusters on demand, anywhere.
With this quick start guide and some tools from Canonical, you’ll have a Kubernetes cluster running on the cloud of your choice in minutes!
What you’ll need
- An Ubuntu 18.04 LTS or 16.04 LTS environment to run the commands (or another operating system which supports
snapd- see the snapd documentation) - Account credentials for one of the following public clouds:
- Amazon Web Services, including AWS-China and AWS-gov
- CloudSigma
- Google Cloud platform
- Joyent
- Microsoft Azure, including Azure-China
- Oracle Cloud
- Rackspace
Note: If you don’t meet these requirements, there are additional ways of installing the
Install the tools
The recommended way to install the Charmed Distribution of Kubernetes® is with the tools Juju, an application modelling tool, and conjure-up, a guided installer for complex applications.
From the command line, run the following:
sudo snap install conjure-up --classic
(Note: the use of ‘sudo’ may not be required on some versions of Linux)
This command will install both conjure-up and Juju via snap packages.
Run conjure-up
To start deploying Kubernetes, simply run:
conjure-up
This will start an interactive, guided deployment of the components of the Charmed Distribution of Kubernetes ®.
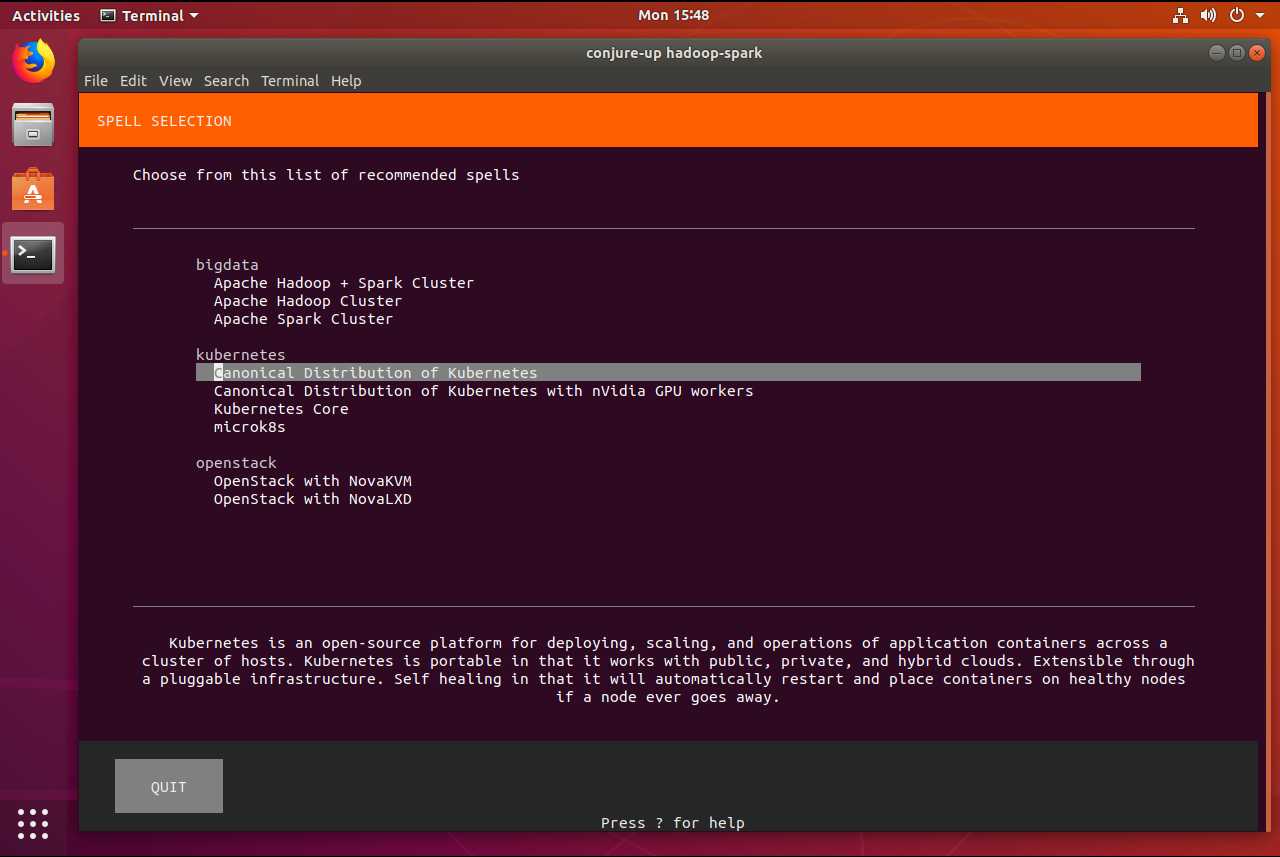
conjure-up can be used to deploy many different applications, with a set of processing scripts known as spells. Use the arrow keys to select “Charmed Distribution of Kubernetes” and press Enter
The next screen shows a selection of add-ons which can be installed at the same time as Kubernetes.
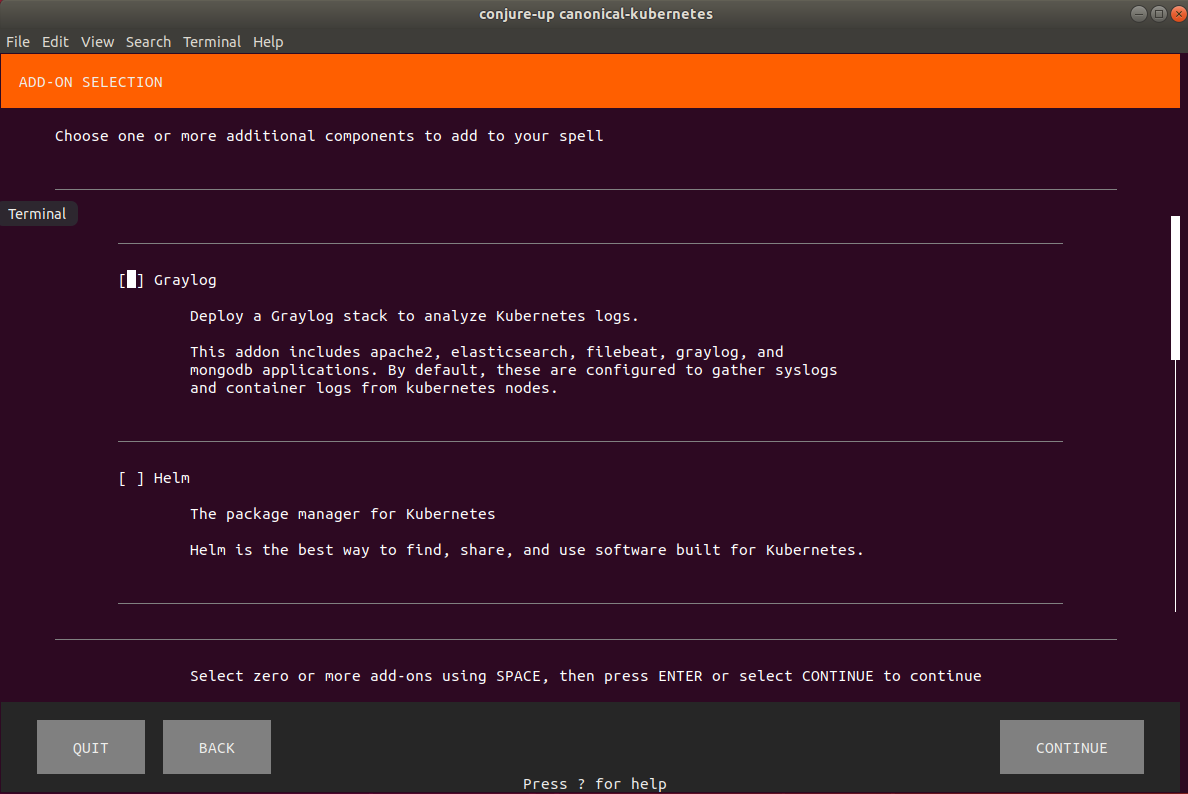
You may want to come back and give some of these a try, but for now, just use the Tab key to move down the list and select the Continue button on the interface, and press Enter.
Choose a cloud
The next step is to choose the cloud you wish to deploy to.
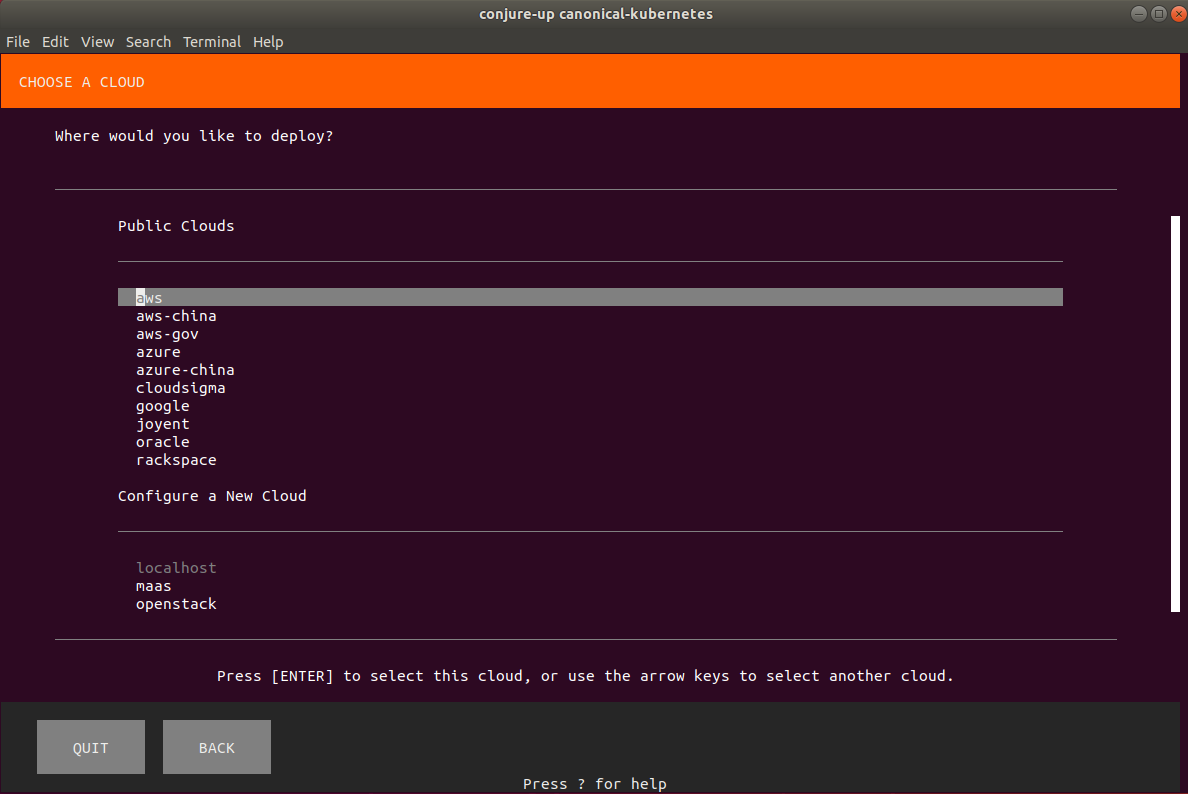
Select the public cloud you wish to use and continue.
Depending on your cloud, you will also likely see a screen to select the region to use. This maps to the known regions of the cloud you chose. Select an appropriate region and continue.
Add credentials
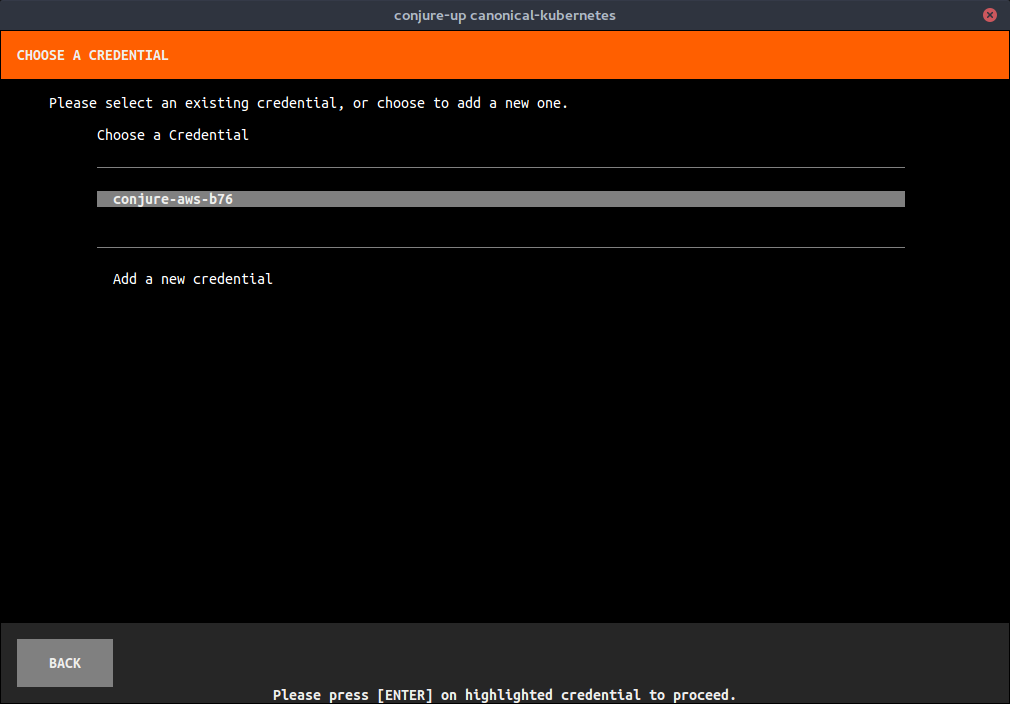
If you have run through this install previously or you have already set up credentials with Juju, you will be given the option of using these previously stored credentials or adding new ones.
If you haven’t previously stored credentials, you will instead be prompted to enter them now:
Simply paste in the required fields and use Tab, cursor keys and Enter to navigate.
Note: There are many different types of credentials, and copying and pasting them accurately can be tricky. If you have any authentication difficulty, it may be easier to add credentials using Juju, ( follow this link for documentation)
Create a controller
Juju uses a central controller instance to manage the applications it deploys in separate models. You always need at least one controller, but if you have already created one for previous installs in this cloud (even if they weren’t for Kubernetes), you can reuse that controller.
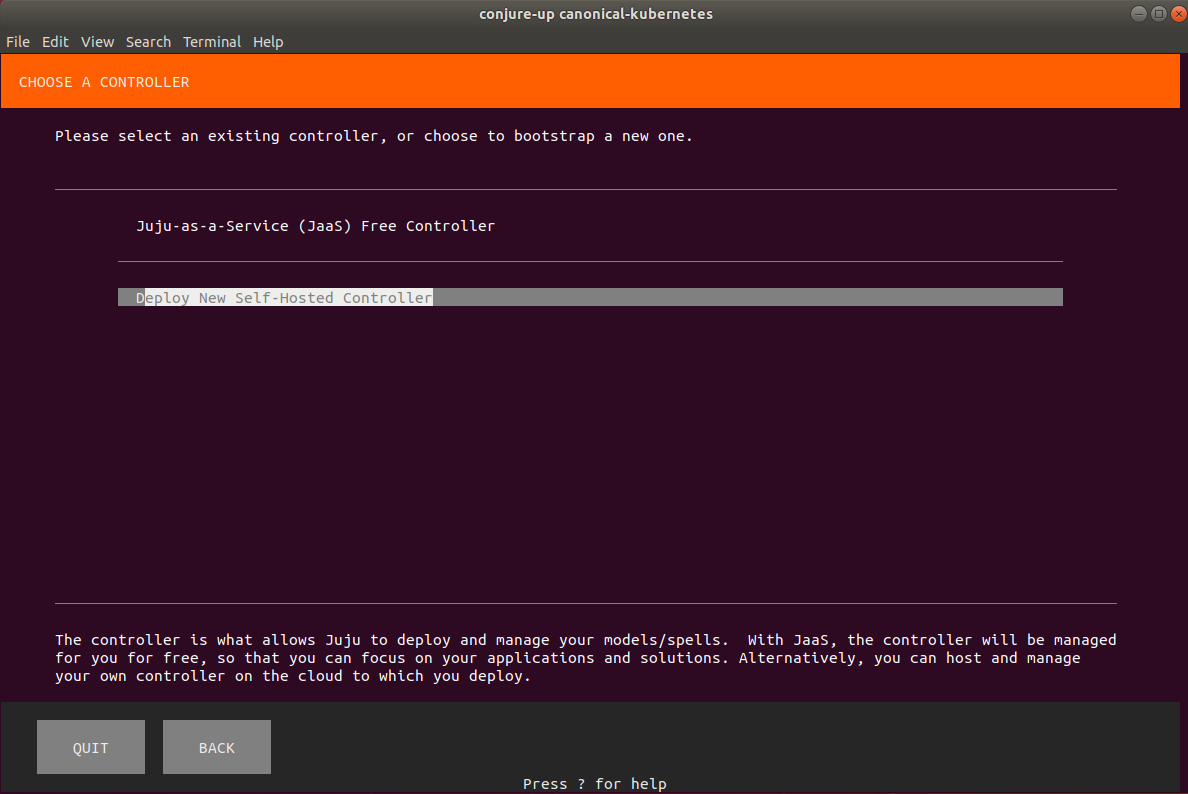
Assuming that this is your first time with conjure-up and Juju, select Deploy New Self-Hosted Controller and continue.
Configure your deployment
The next few conjure-up screens deal with configuring and customising your install. These are usually additional steps which conjure-up can perform before, during or after the actual deployment to set up Kubernetes for quick and easy use.
Depending on your chosen cloud, the first choice is which network plugin to use:
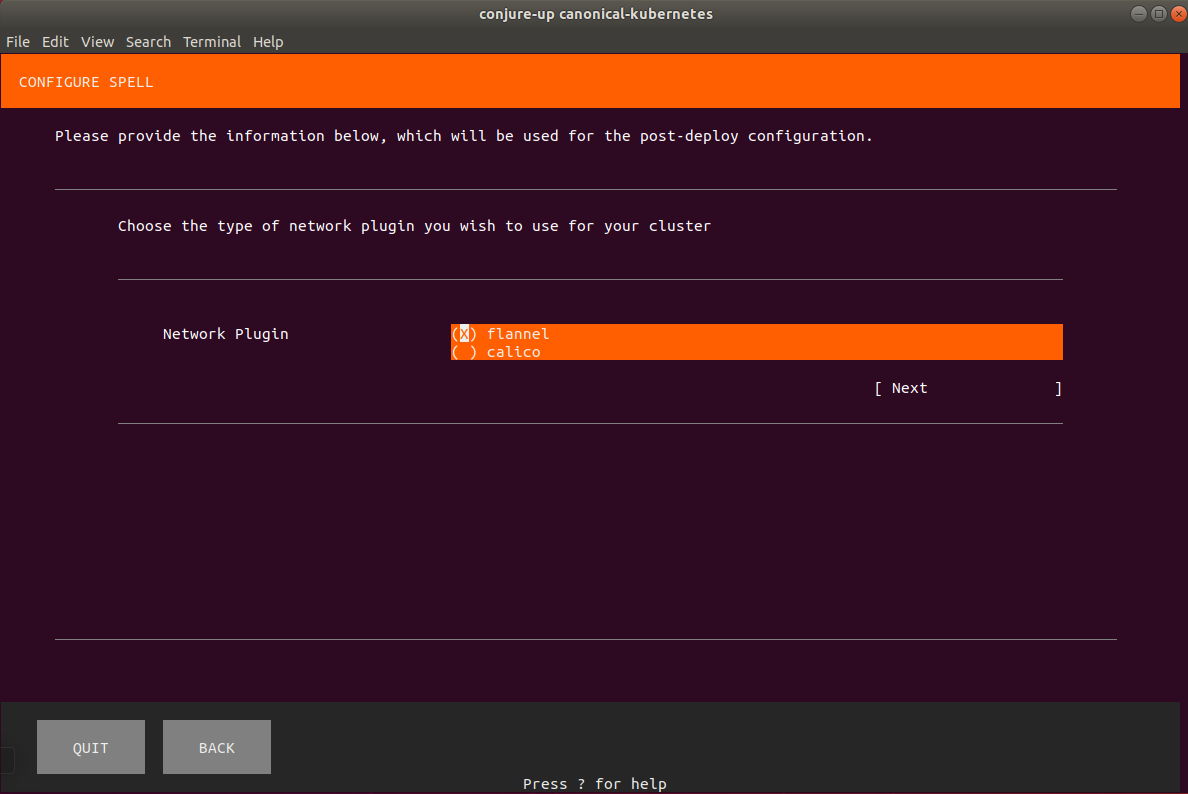
Use the cursor keys to navigate and space to select either flannel or calico. If you don’t have an opinion about which style of networking you need, just leave the default choice and select next. Some clouds do not currently support Calico, in which case this option will not appear.
You will now be asked for your sudo password. This is so conjure-up can download and install the latest version of kubectl (the command line tool for managing Kubernetes) and configure it to work with your new cluster.
The next screen will show the applications to be deployed. See the overview if you need a better understanding of what these components do.

By default, this setup will deploy two Kubernetes master nodes and three workers, which can be changed by entering the configuration screen for these components and selecting new values. Note that it will also be possible to increase the number of nodes later, so it isn’t necessary to determine how many workers you’ll need in advance – you can just select Continue.
Deploying
Now conjure-up will start the set up by creating a Juju controller, and you will see the following screen:
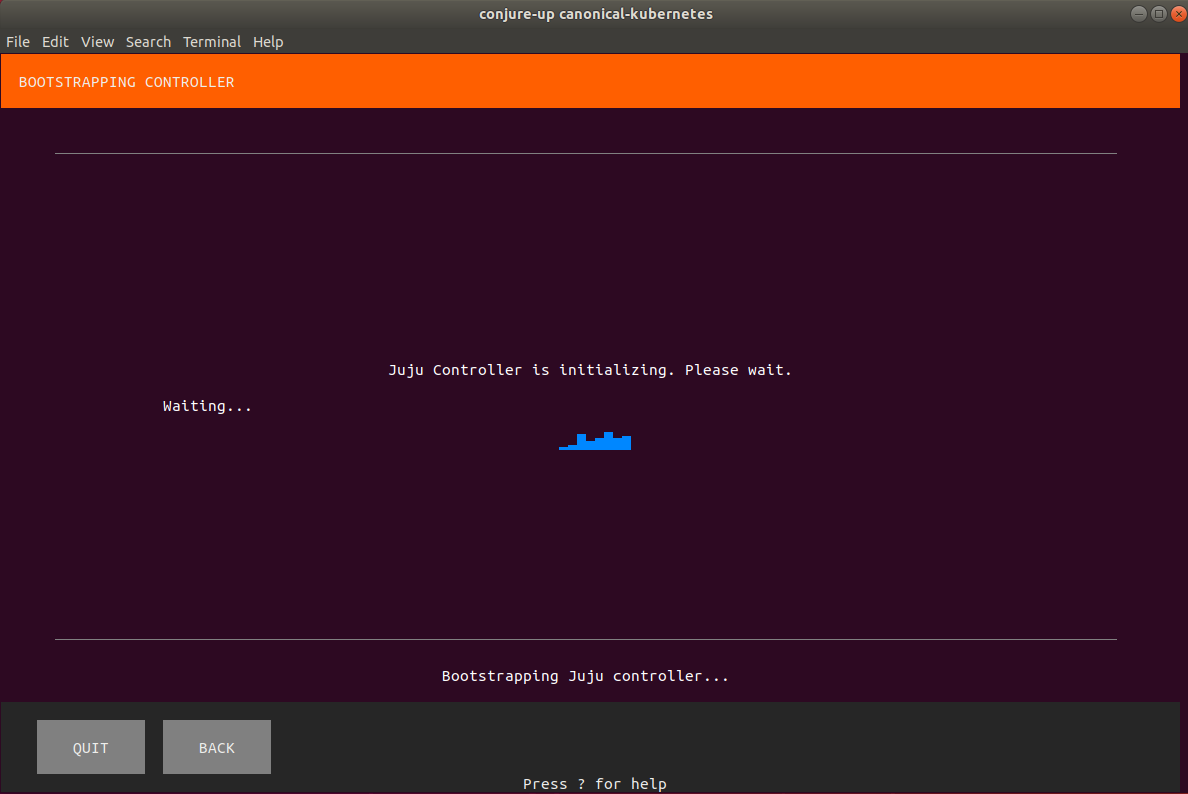
As mentioned previously, a Juju controller is a cloud instance which Juju uses to monitor and manage any other nodes and applications it deploys across any number of different models. You will typically only need one Juju controller per cloud, and you will be able to deploy multiple separate models containing additional Kubernetes clusters or other big software applications.
Once the controller has been created, Juju will then create a model and instances within that model to contain the applications which make up the Charmed Distribution of Kubernetes. For a few minutes, conjure-up will display a status screen, reporting on the progress of the install. You will see the individual status messages change as the instances are created, software is installed on them, and then this software is configured to work with the other elements of the deployment.
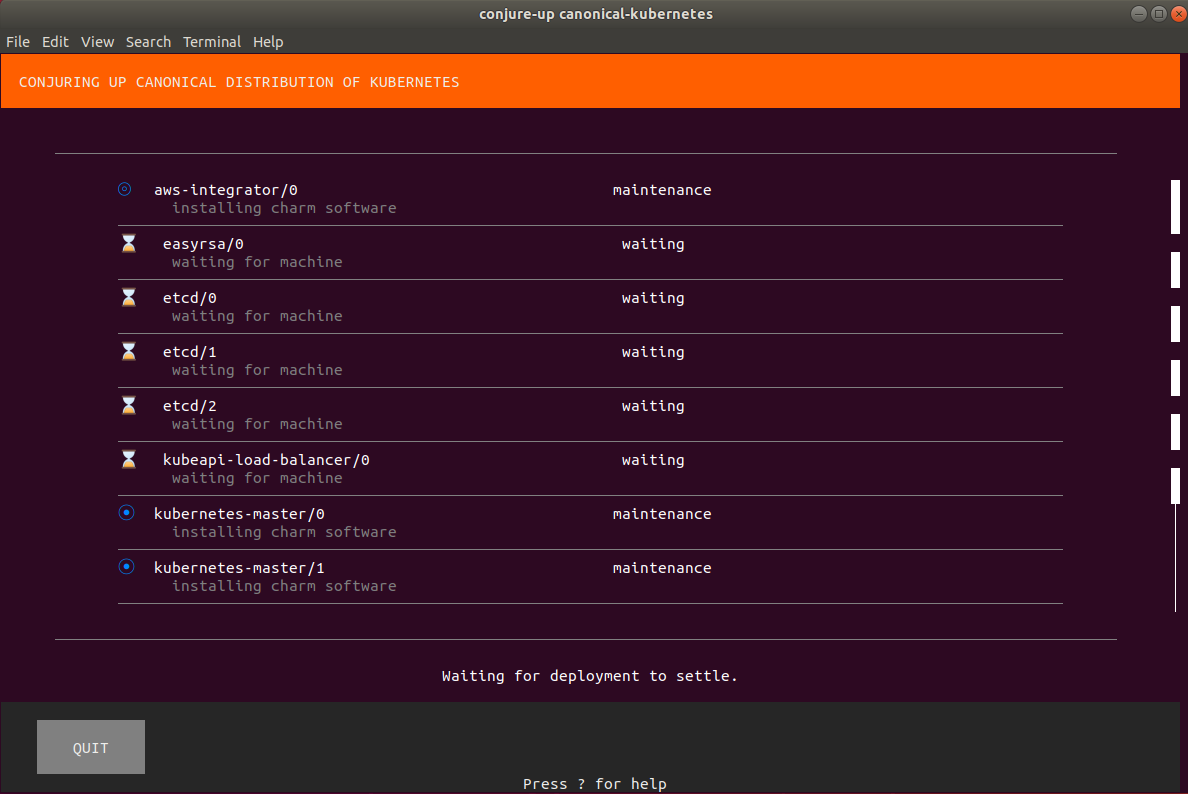
The actual time this takes will depend on a number of factors, including which cloud you are using, but it should be complete in around five minutes. When the installed software is up an running, conjure-up will display a final screen indicating that the cluster is up and running and giving details of the running services and their addresses. It should also indicate that the kubectl software has been installed on your local machine.
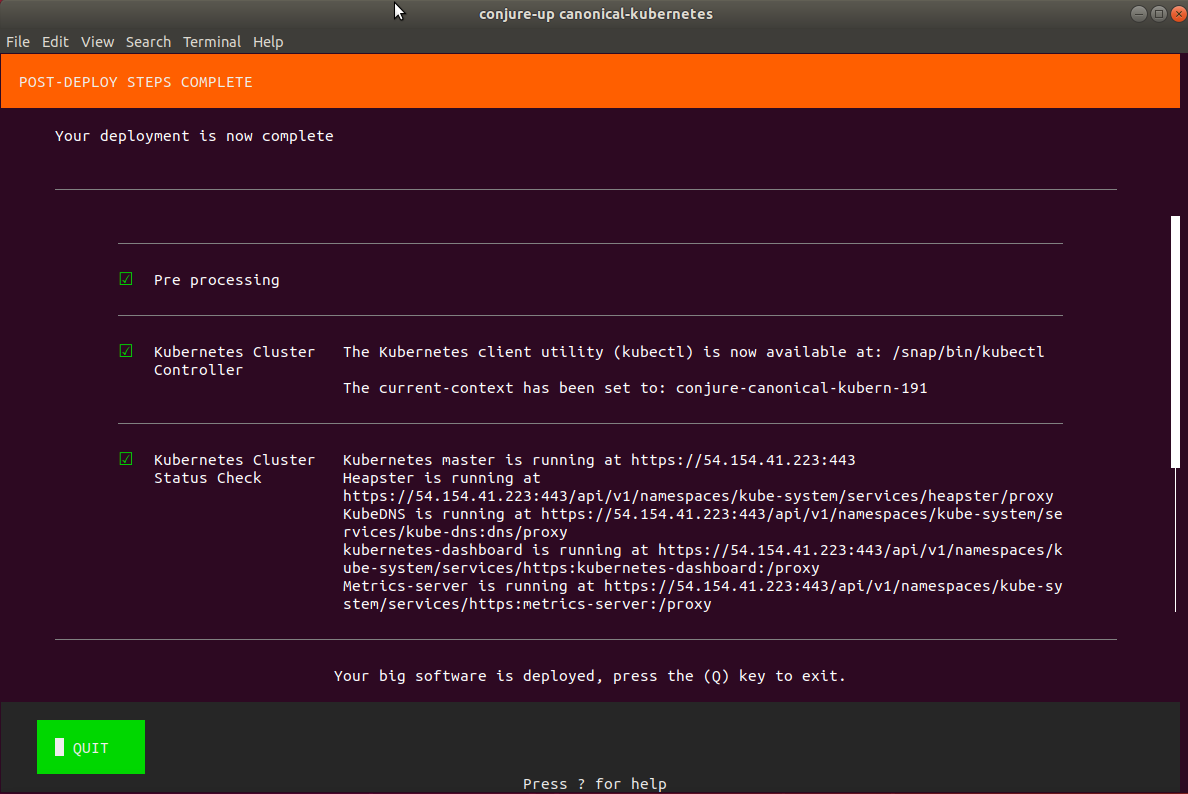
Congratulations! You now have a cluster up and running with the Charmed Distribution of Kubernetes ®
You can now check the status of the cluster yourself by running the command:
kubectl cluster-info
The output should look similar to this:
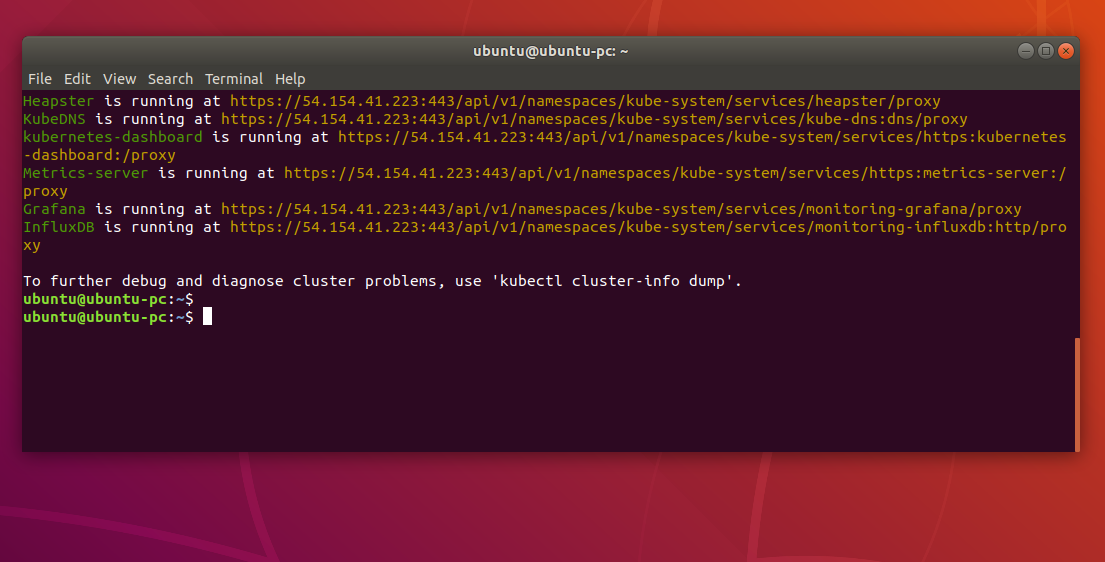
This shows the relevant IP addresses for operating your cluster.
Access the dashboard
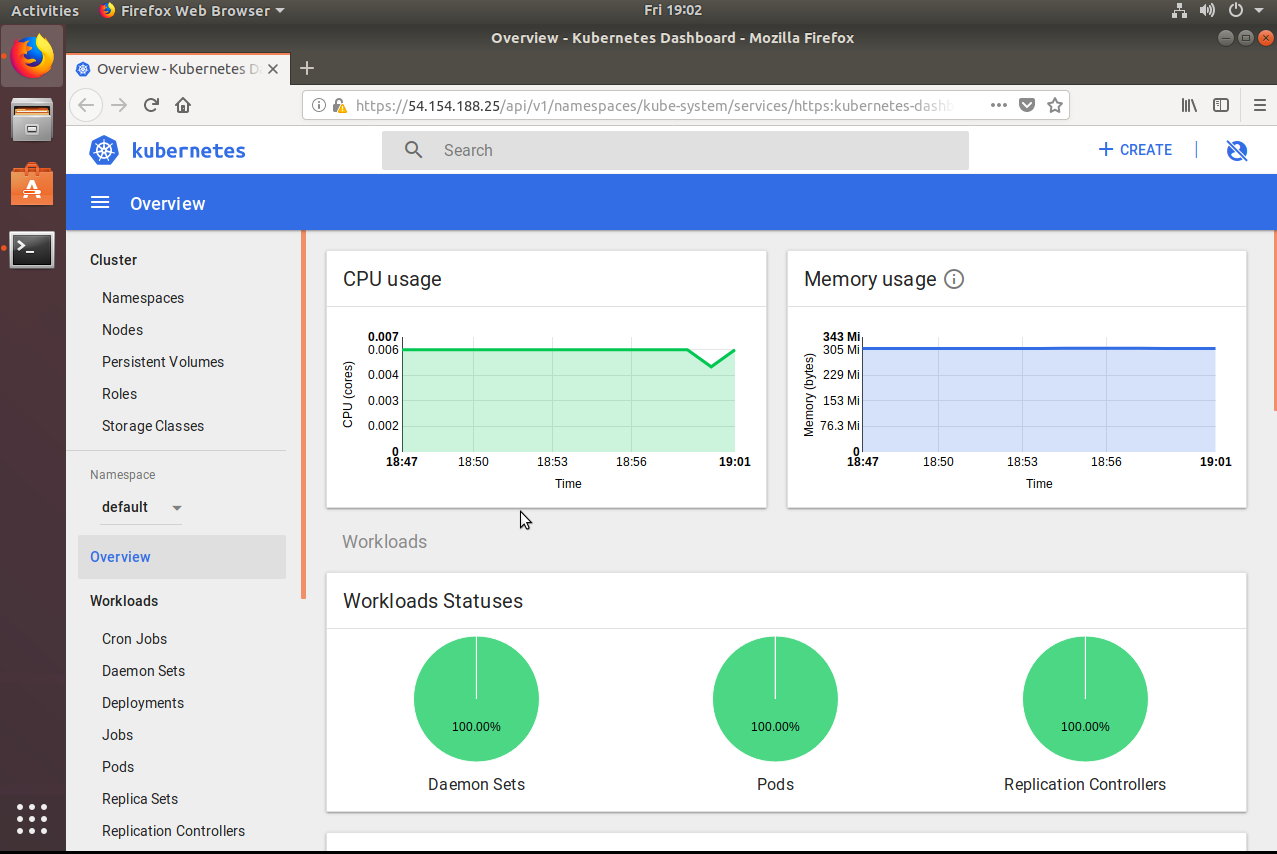
To check that everything is actually working, you may want to log in to the Kubernetes Dashboard.
The recommended way to do this is to use the built-in proxy service, run with the following:
kubectl proxy
The URL for the dashboard will then be http://localhost:8001/api/v1/namespaces/kube-system/services/https:kubernetes-dashboard:/proxy/
Open a browser at the address for the Dashboard. You will see an authentication screen:
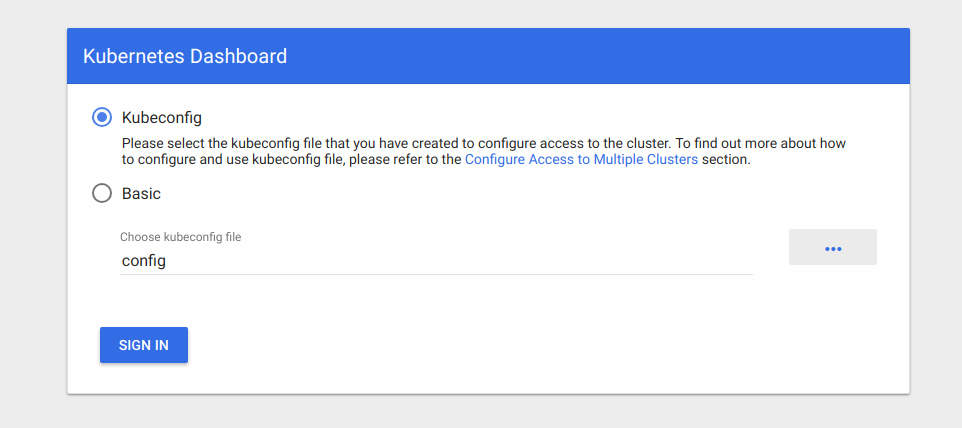
You will need to log in to the Dashboard with a valid user. The easiest thing to do is to select your kubeconfig file, but for future administration, you should set up role based access control.
Next steps
Now that you have your cluster, you can put it to work! Here are a few recommended starting points:
Kubernetes® is a registered trademark of The Linux Foundation in the United States and other countries, and is used pursuant to a license from The Linux Foundation.