Using Helm with CDK
Add a Helm Chart
Now you have a cluster up and running with storage, you can install applications in your cluster with Helm. This handles the install and Kubernetes configuration for a wide range of applications using ‘charts’. We’ll take you through the steps:
Install Helm
Helm is available as a snap, so installing is as simple as:
sudo snap install helm
Helm needs to install a component on the cluster also (the Tiller). It gets the
information on your cluster from kubectl, so if you have more than one cluster, make
sure you are switched to the correct context.
To install the ‘Tiller’, run:
helm init
Chose a Chart
Helm’s application packages are called charts. You can fetch the latest list of charts with:
helm repo update
To see which repositories you are connected to:
helm repo list
…which by default should list:
NAME  	URL
stable	https://kubernetes-charts.storage.googleapis.com
local 	http://127.0.0.1:8879/charts
You can search these repositories for suitable charts. For example:
helm search jenkins
would return:
NAME          	CHART VERSION	APP VERSION	DESCRIPTION
stable/jenkins	0.19.1       	2.121.3    	Open source continuous integration server. It s...
Deploying
Once you have selected the chart, you can install it with Helm.
helm install stable/jenkins
Pay particular attention to the output. many Helm charts, including this one for Jenkins include important information about how to connect or use the newly installed pod. In this case, you should see something similar to:
NOTES:
1. Get your 'admin' user password by running:
  printf $(kubectl get secret --namespace default hipster-orangutan-jenkins -o jsonpath="{.data.jenkins-admin-password}" | base64 --decode);echo
2. Get the Jenkins URL to visit by running these commands in the same shell:
  NOTE: It may take a few minutes for the LoadBalancer IP to be available.
        You can watch the status of by running 'kubectl get svc --namespace default -w hipster-orangutan-jenkins'
  export SERVICE_IP=$(kubectl get svc --namespace default hipster-orangutan-jenkins --template "")
  echo http://$SERVICE_IP:8080/login

3. Login with the password from step 1 and the username: admin
As mentioned in the above notes, the jenkins chart uses a loadbalancer which requires a public IP address. Allocating IP addresses is done through the underlying cloud, so the process could take anywhere from no time at all to a couple of minutes.
You can confirm that a new pod has been created with:
helm list
… which should return a list of all the Helm charts which have been installed
NAME                        REVISION     	UPDATED                                  	STATUS  	        CHART               NAMESPACE
hipster-orangutan	1       	              Thu Nov  8 14:41:33 2018   	DEPLOYED    	jenkins-0.19.1	default
Accessing
Following the notes displayed when we installed the chart, we can first obtain the password:
printf $(kubectl get secret --namespace default hipster-orangutan-jenkins -o jsonpath="{.data.jenkins-admin-password}" | base64 --decode);echo
Which returns a value like 4oEUJeMvpu. This is the password for the admin user. Now
we just need the IP address.
To check whether this has been assigned yet, run:
kubectl get svc --namespace default hipster-orangutan-jenkins
If the External_IP is still shown as pending, you will have to try back later. If a value is listed there, run the commands from the previous output to get the full URL.
export SERVICE_IP=$(kubectl get svc --namespace default hipster-orangutan-jenkins --template "")
echo http://$SERVICE_IP:8080/login

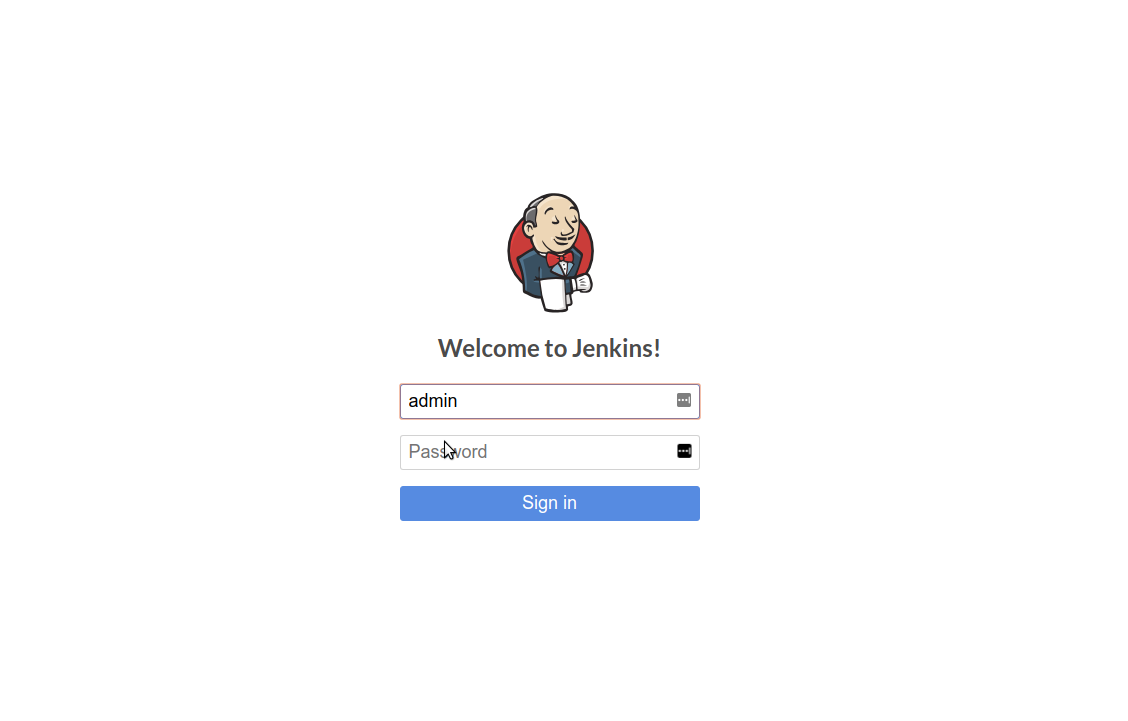
Enter ‘admin’ as the user name, and the password we retrieved earlier…

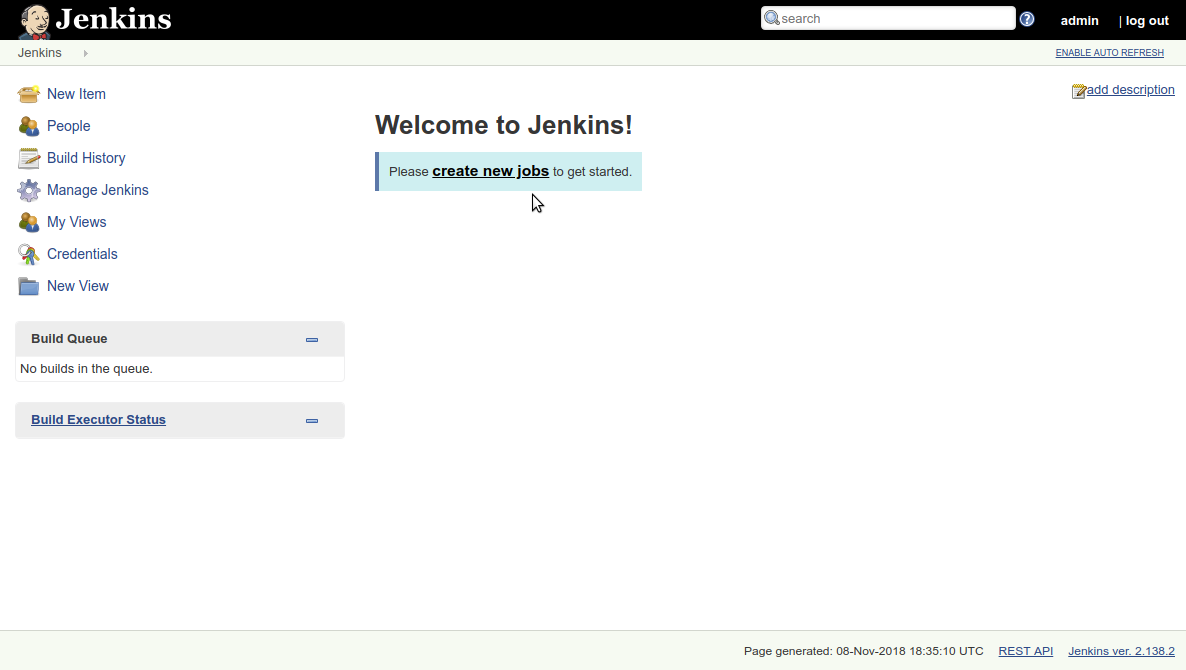
Congratulations - you have now deployed Jenkins with Helm
